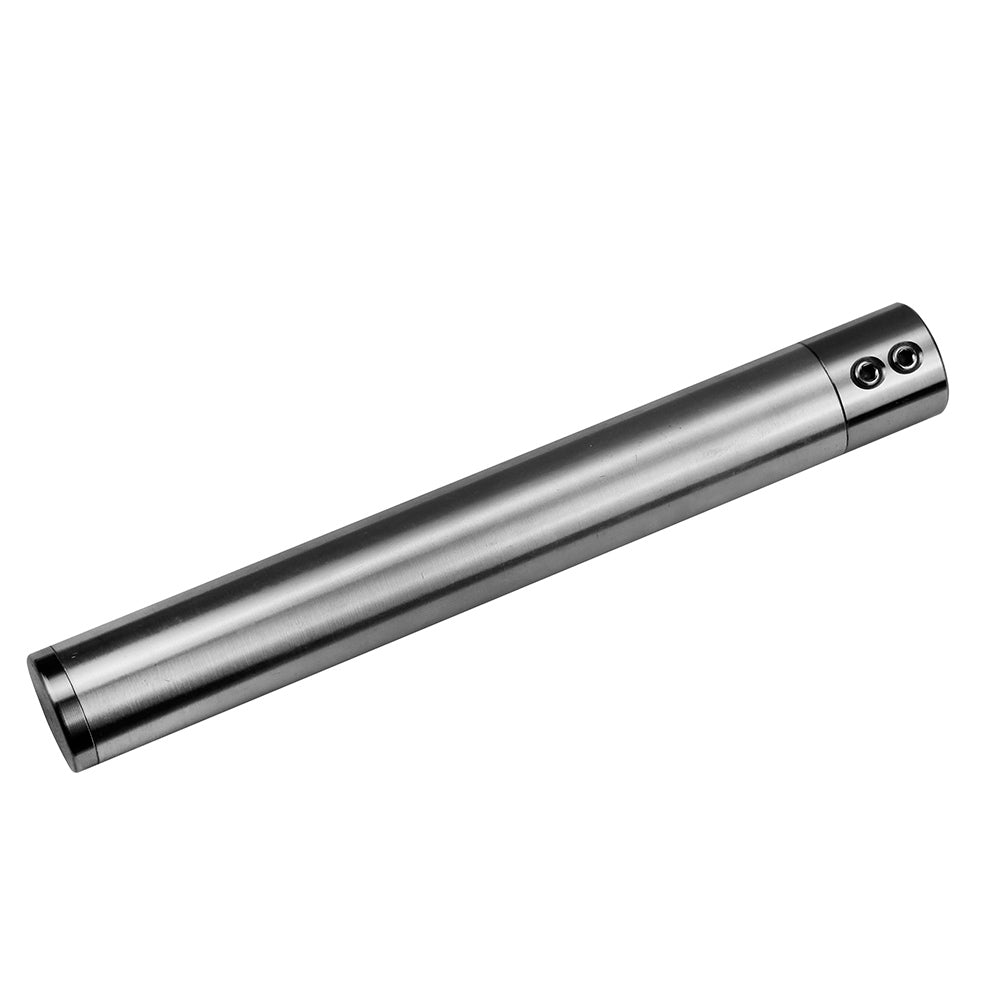
A mini stainless steel tool handle for woodturning is a handy accessory that provides a comfortable grip and enhances control when using woodturning tools. While woodturning tools typically come with their own handles, some woodturners prefer to customize their tool handles to suit their personal preferences or to accommodate specific turning tasks. A stainless steel handle offers durability, stability, and a sleek aesthetic.
When selecting a mini stainless steel tool handle for woodturning, it's important to consider factors such as size, weight, and ergonomics. The handle should fit comfortably in your hand and allow for a secure grip to ensure precise control over the turning tool. It's also essential to choose a handle that matches the size and type of woodturning tools you plan to use.
To make a mini stainless steel tool handle for woodturning, you will need the following materials and tools:
Materials:
1. Stainless steel rod or bar stock: Select a stainless steel material of suitable diameter and length for your desired handle size.
2. Epoxy adhesive: Choose a high-quality epoxy adhesive that provides a strong bond.
Tools:
1. Lathe: A woodturning lathe is necessary for shaping and turning the handle.
2. Lathe tools: Chisels, gouges, and other appropriate woodturning tools for shaping the handle.
3. Sandpaper: Various grits of sandpaper for smoothing and finishing the handle.
4. Epoxy mixing tools: Mixing cups or containers, stirring sticks, and disposable gloves for handling the epoxy adhesive.
5. Protective equipment: Safety glasses and a dust mask for personal protection.
Here are the general steps to make a mini stainless steel tool handle for woodturning:
1. Measure and cut the stainless steel rod or bar stock to the desired length for your handle. This will depend on personal preference and the type of tool you plan to use with the handle. Leave some extra length for the part that will be inserted into the tool.
2. Mount the stainless steel rod onto the lathe using a chuck or a collet. Ensure that the rod is securely fastened to the lathe and does not wobble.
3. Use the appropriate woodturning tools to shape the handle. Start by roughing out the basic shape, gradually working towards the final design. Consider ergonomics and create contours that fit comfortably in your hand. Pay attention to the balance and weight distribution of the handle to ensure stability during woodturning.
4. Once you have achieved the desired shape, use sandpaper to smooth the handle and remove any tool marks. Begin with a coarse grit sandpaper and progressively move to finer grits for a polished finish. Sand in the direction of the grain to avoid scratches.
5. After sanding, clean the handle to remove any dust or debris. Wipe it down with a damp cloth and let it dry completely.
6. Prepare the epoxy adhesive according to the manufacturer's instructions. Make sure to mix it thoroughly and wear disposable gloves for protection.
7. Apply a generous amount of epoxy adhesive to the end of the stainless steel rod that will be inserted into the tool. Insert the rod into the tool, ensuring a snug fit. Wipe off any excess epoxy that may squeeze out.
8. Allow the epoxy adhesive to cure completely as per the manufacturer's instructions. Avoid using the handle until the adhesive has fully cured.
9. Once the epoxy has cured, your mini stainless steel tool handle is ready to use. Attach the desired woodturning tool to the handle and ensure it is securely fastened.
Remember to always follow proper safety precautions when working with tools and machinery. Take your time, use appropriate techniques, and enjoy the process of creating a custom mini stainless steel tool handle for your woodturning needs.
